I don't know about you, but I am looking forward to the upcoming seasons of warmth. I like winter (good thing, because it's been a long one), but I also like spring and summer. And I am big on planning ahead.
Example: I started brainstorming for (and making) Christmas gifts on Saturday.
Anyway, I have also been planning my spring and summer wardrobe for the last month or so. Last week, on dayattheshore, I showed you
how I turned some hand-me-down jeans into tribal print shorts and a colorful jean skirt. This week, as promised, I'm showing you three t-shirt make-overs (yes, the two and a half became three). Two shirts are hand-me-downs; one came from Goodwill.
Each of these t-shirt upgrades is unique: one is casual (like for a day out doing errands or playing frisbee golf), one is more sporty (like for wearing to the gym), and one is definitely the cutest (like for wearing to work or on a date).
I hope you have as much fun looking through these projects as I did completing them.
RE-Fashion #3: Backbone Tee
The first video I watched about tee re-do's was
this video by Andrea's Choice. She has many, many ideas on how to re-vamp t-shirts. My favorite one, though, was the one she called a "ladder-back t-shirt." I did not make my cuts large enough to make multiple "ladders," though, and therefore, I think mine looks more like a human backbone (
good last-minute Halloween costume, perhaps?).
I know that as soon as my mom sees me wearing this shirt, I am going to get a smirk and several
Flash Dance remarks. But that's a risk I'm willing to take.
Here's what I did...
 |
| Find the middle of the back of your tee and fold in half. Cut some slits across the back of your shirt with scissors (or a rotary cutter if you have it). Mine were roughly an inch apart. |
 |
| Stretch each "rung" (don't pull too tight, though). |
 |
| Knot down the center. Take a "rung" and twist to make a small circle out of the center. Pull the next "rung" below through and twist it. Keep twisting and pulling rungs through until you make it to the bottom. Tie off the last one. If that doesn't make sense, Andrea shows you how to do it in the video linked above. I didn't think to take pictures. :/ Sorry. |
 |
| I also cut out the neckline of my t-shirt. It was a v-nech, but the way it was positioned did NOT look very becoming on me. Don't forget to stretch what you cut! |
 |
| I happened to have some matching buttons from another project (eight years ago?) and decided to thread (with needle aid) some embroidery floss through them to make a bracelet. |
 |
| Kitty wanted to help with the bracelet tutorial. |
 |
| "See, readers?" She says. "There's nothing to it." |
 |
| Eventually, I got frustrated with her help and decided to nix the tutorial after re-making the bracelet a couple of times. |
 |
| Also, per the linked video, I knotted the leftovers from my t-shirt and made another bracelet. Notice the lack of furry orange hands? Kitty was not interested in this bracelet. |
 |
| Here they are, side by side. :) |
 |
| And me showing the front of my "new" tee. (Not sure what that face is about.) |
 |
| Back of my "new" tee. |
Pair it with a contrasting tank top, and you've got a bright, casual top for spring or summer. Frisbee golf, here I come!
RE-Fashion #4: Crop-top Racer Back Tee
This project was also spawned from watching the above video; however, I didn't make mine as short as the one in the video (keep it covered, ladies!). I think this would be cute layered with a tank top. Also, I thought (after I made my original cuts) that a racer-back would be fun, so I added it!
Here's what to do...
 |
| With a Sharpie, draw the outline of what you want to cut. I ended up making my arm holes MUCH bigger. |
 |
| All cut out! I went back and made the back a "T" shape. |
 |
| Save one of the sleeves to wrap your "T" back. |
 |
| Cut off a strip of the sleeve cuff. |
 |
| Here is a frame of reference for the "T"... Fold the shirt in half. The fold should be down the center of the back and front of your t-shirt. |
 |
| You will probably need to trim off the excess of your "T"... making it more of a "V"... |
 |
| Take that piece of sleeve cuff and wrap it around the top. Pin it in place and sew it together. |
 |
| So intimidating. |
 |
| Oh, yeah, look at those guns... |
 |
| It is possible that I have lost some gym partners over the years due to my lack of seriousness while exercising. (Shocking, I know.) |
 |
| More Kitty help! |
 |
| Sometimes, you just go with it. |
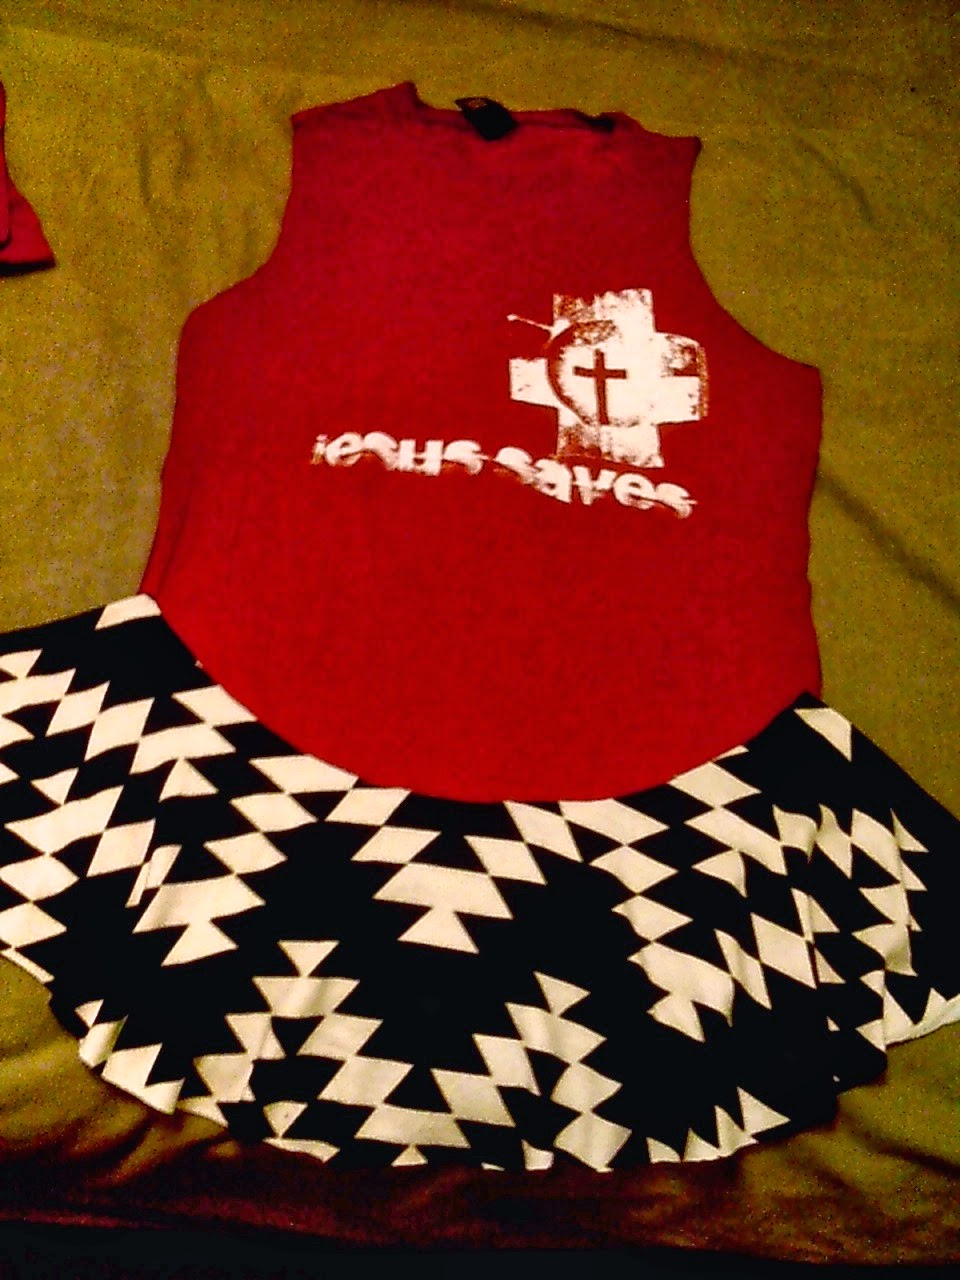
RE-Fashion #5: Peplum Top
This is my favorite t-shirt upgrade. It takes the most time, but it is worth the effort! I am seriously considering the purchase of a men's XL t-shirt from Target this week (on sale for $4) to make a peplum top sans logo. Warning: If you can't sew, you may need to use the technique I suggested last week (bribe a sewing friend with food to have an afternoon "sewing party").
My peplum tee was inspired
by a different video. Even if you don't watch the whole video, you ought to at least see the picture of her wearing this tee. So cute! Also, if you aren't shaped like the girl in the video, this top may still be flattering on you. I tried on a peplum top this past Fall (I didn't buy it--$$$), and I was pleasantly surprised that I could pull it off.
Here is a summary of what I did (and what you would need to do)...
 |
| Pull out that Sharpie again! You'll need to trace a tank top that you like onto the t-shirt you are cutting up. |
 |
| You'll also need to cut out from the bottom of the shirt (or another fabric made out of similar material) a circle skirt. This is definitely a case of "you need to watch the video." She links a circle skirt chart and you make the circle skirt based on the size of your waist and how long you want your tee to be. My fabric is leftover from a pillow I sewed... |
 |
| Cut out your tee and sew up the sides. |
 |
| Cut out your circle skirt and pin it onto your tee (right sides together). Warning: this pic is not them pinned together. They need to be pinned in a straight line. Thus, there will be pleats or gathers, if you will. Sew the circle skirt onto your tee. You may want to adjust your neckline like I had to do after I took this picture. |
 |
| Woohoo! Cute shoes! With a light sweater, jeans, and some high heels (that I pull out once or twice a year at most), this would be a great spring date outfit! |
 |
| I LOVE this t-shirt! |
With a little bit of thought and time, your spring and summer wardrobe could get a fun and inexpensive (maybe free) upgrade. I hope this post (
and last week's) inspires you to look at your current clothes with a creative eye...
Talk to you soon,
--Mrs. D.


